The day has finally arrived. A massive wooden crate is sitting in your driveway, and inside is your brand-new OMTech laser—a tool that holds unlimited creative potential. It’s a moment of pure excitement mixed with a little bit of, “Okay… now what?”
Don’t worry. Unboxing and setting up your laser is a straightforward process. This guide is your calm, clear checklist to take you from a sealed crate to a fully functioning machine, safely and without stress. Let’s get you set up and ready to make something amazing.

⚠️ Safety First: Read This Before You Start
This is the most important part of the whole guide. A laser cutter is a powerful tool, not a toy.
- You Will Need a Helper: These machines are HEAVY. Do not try to lift or move your laser by yourself. You need at least one other person to help you.
- Take Your Time: This is not a race. Rushing leads to mistakes. Read each step carefully before you do it.
- Work in a Ventilated Area: You will be setting up an exhaust system, but it’s best to work in a garage or workshop with good airflow from the start.
Part 1: The Unboxing Checklist
Let’s get that machine out of the box.
- Step 1: Inspect the Crate: Before you even grab a screwdriver, walk around the entire wooden crate. Look for any major signs of damage from shipping, like smashed corners or big holes. If you see anything concerning, take pictures before you open it.
- Step 2: Open the Crate: The crate is usually held together with screws or metal clips. Carefully remove them and take off the top and side panels. You’ll see your laser securely packed inside, often with foam and straps.
- Step 3: Lift With a Friend: With your helper, carefully lift the laser out of the crate and place it on its final stand or a very sturdy workbench. Be mindful of its weight distribution; it’s not balanced.
- Step 4: Unwrap and Inspect the Machine: Remove all the plastic wrap and foam. Open the main lid and look inside. The laser tube at the back should be intact, and the laser head should be secured for shipping. You may need to snip a few zip ties that are holding moving parts in place.
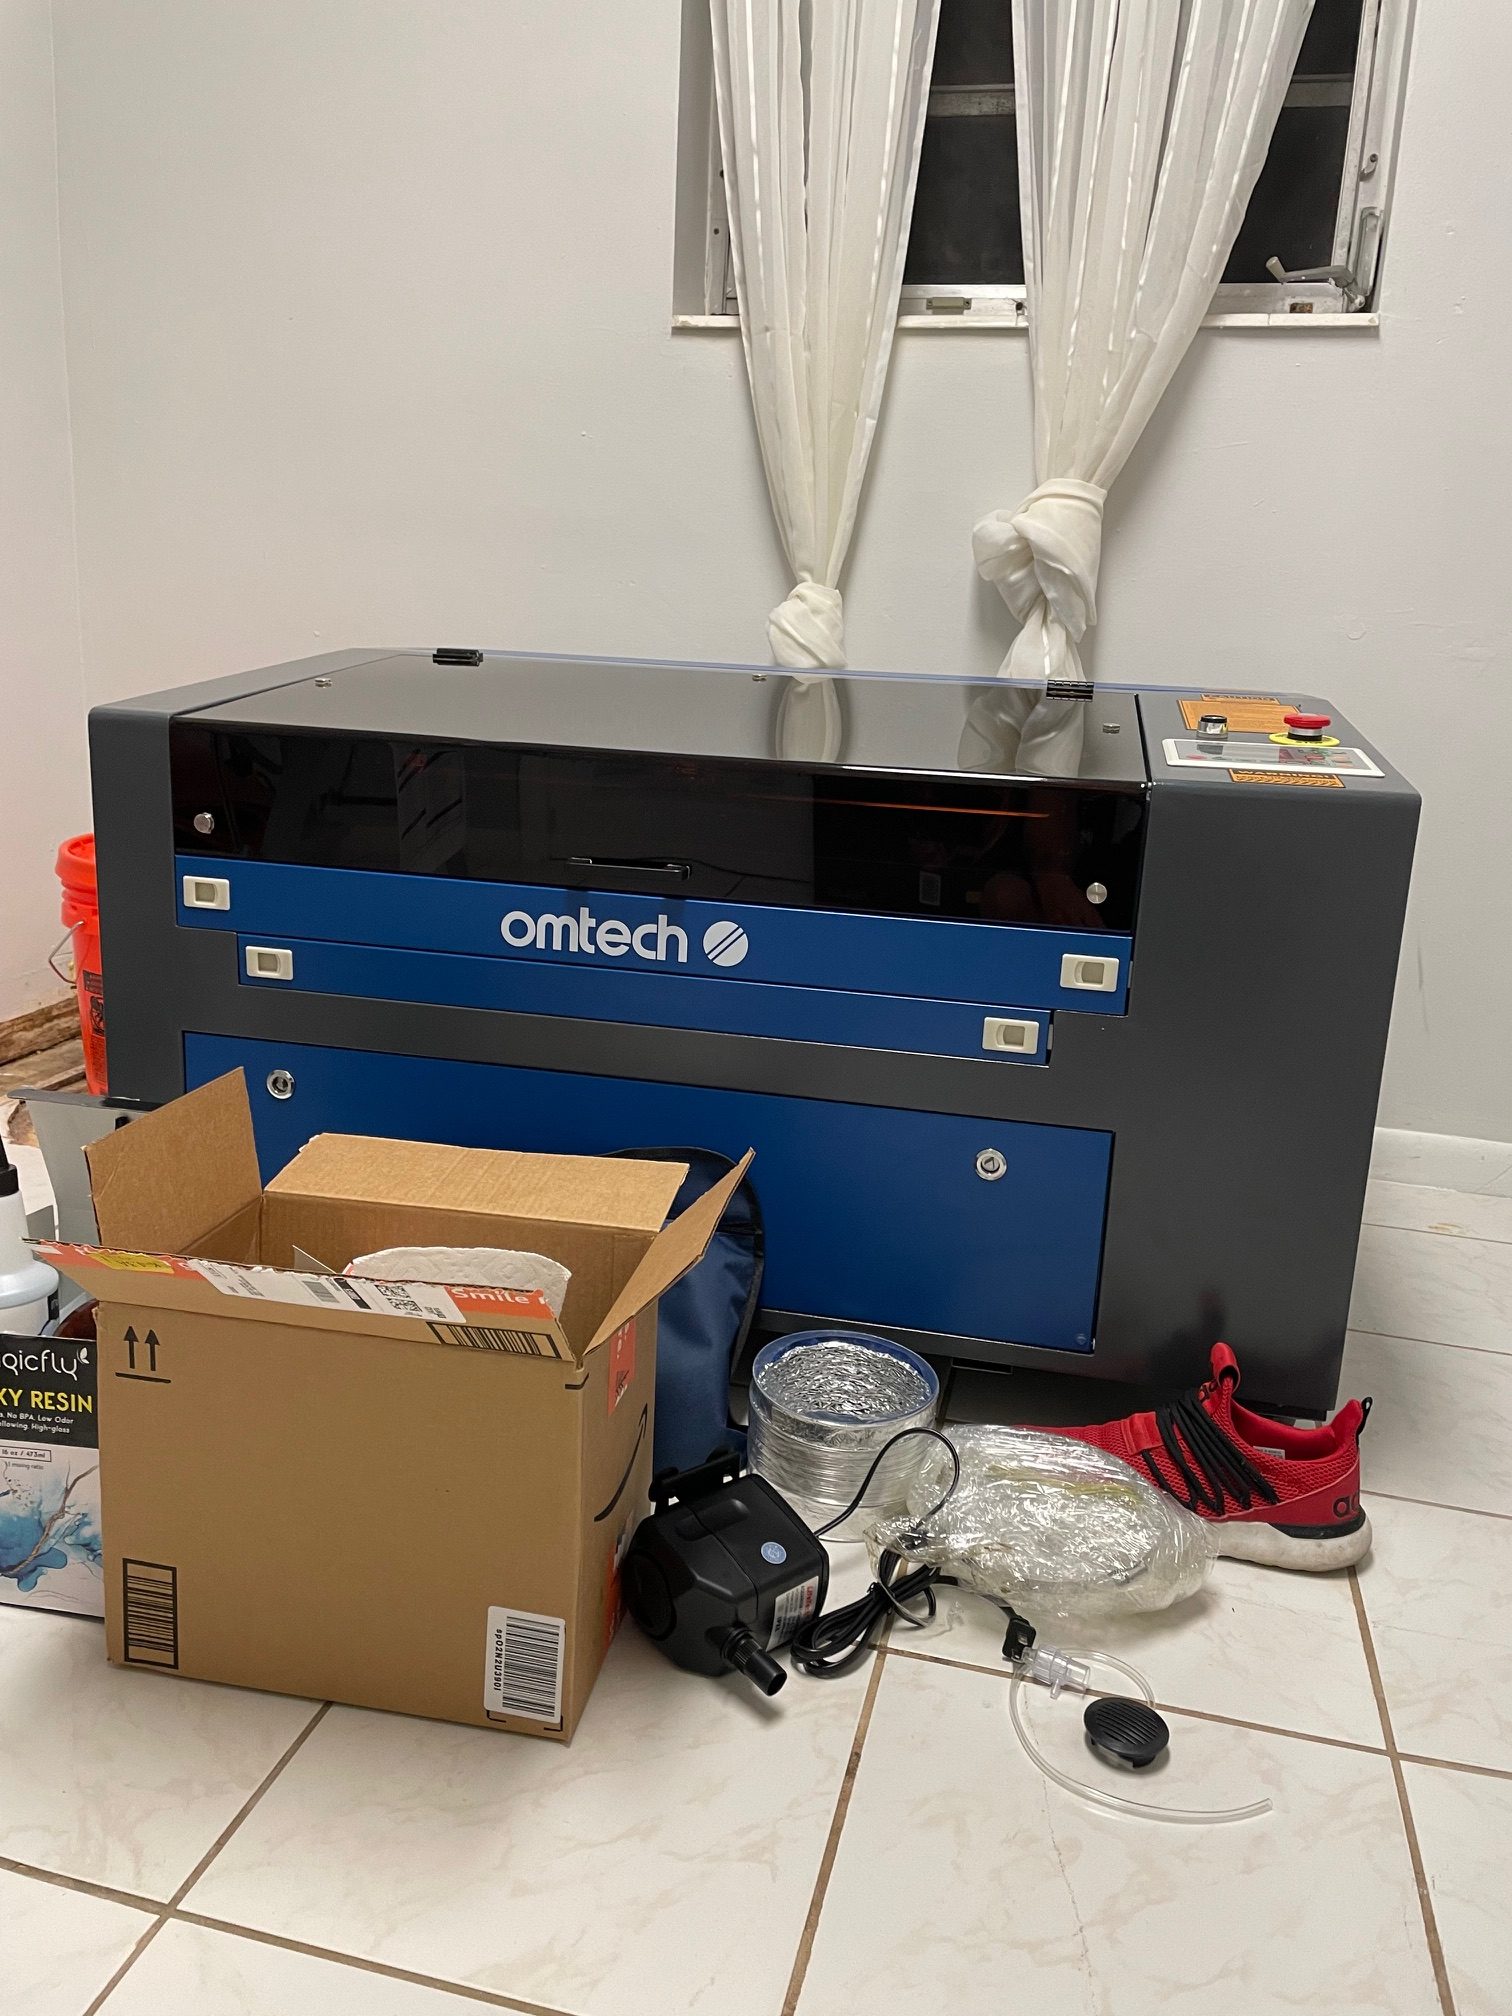
- Step 5: The Accessory Box Inventory: Your laser comes with a toolbox or bag of essential parts. Open it up and make sure you have the key items: a water pump (or connections for a chiller), a flexible exhaust hose with a fan, a small air pump, a USB cable, and the power cord. (accessories may vary)
Part 2: The Connection Checklist
Now we connect the three lifelines of your laser: water, air, and exhaust.
Connection 1: Water Cooling (The Most Important Step!)
Your laser tube gets very hot and will break without cooling. Never run your laser without water flowing.
- Find the two ports on the back of your laser labeled “Water Inlet” and “Water Outlet.”
- Take the silicone tubes that came with your machine. Connect the Water Inlet port to the outlet of your water pump or chiller. Connect the Water Outlet port to the inlet of your chiller or back into your bucket of water.
- Place your water pump in a clean 5-gallon bucket filled with distilled water. Using distilled water is very important to prevent mineral buildup in your laser tube.
- Plug in your water pump or chiller and turn it on. Look at the silicone tubes. You should see water flowing and any air bubbles being pushed out. Let it run for a few minutes to ensure a steady flow.
Connection 2: Ventilation (Get the Fumes Out)
Laser cutting and engraving create smoke and fumes that you must exhaust outside.
- Find the large circular exhaust port on the back or side of your laser.
- Attach the big, flexible hose to this port using the included clamp. It should be a snug fit.
- (some lasers include an external exhaust fan) Connect the other end of the hose to the included exhaust fan. Pay attention to the arrow on the fan; it shows the direction of airflow. You want the arrow pointing away from the laser.
- Run the other end of the hose out a window or through a vent in your workshop wall.
Connection 3: Air Assist (For Cleaner, Safer Cuts)
The small air pump is called an air assist. It blows a stream of air on your material as you cut, which prevents fires and gives you much cleaner results. (some laser engravers include a built in air assist so you may or may not have to follow this part)
- Find the small air inlet port on the back of your laser.
- Connect the small tube from your air pump to this port.
- Plug in the air pump. You should hear it running and feel a little bit of air coming out of the nozzle on the laser head inside the machine.
Part 3: Powering Up & Your First Test Cut
The hard part is over! It’s time to bring your machine to life.
- Plug It In: Connect the main power cord to the back of your laser and plug it into a properly grounded wall outlet.
- Power On: Turn the main power switch or key. You should hear the machine’s internal fans start up. The laser head will then move to the back-left or top-left corner of the machine. This is called “homing,” and it’s a good sign that everything is working.
- Run a Test Cut: Place a piece of scrap wood or cardboard inside the machine. Now, it’s time to use the software you learned about.
- Once your computer is connected to the laser via the USB cable, you can perform your first test. If you’re new to the software, our Beginner’s Guide to LightBurn will walk you through creating a simple shape to cut.
- A quick test ensures that the laser is firing and the mirrors are reasonably aligned from the factory.
The exact settings and machine models can vary. If you’re ever unsure about a feature on your specific machine, you can learn all about the different models and what they offer in our ultimate guide to buying an OMTech laser or visit the official OMTech website.
Congratulations! You’ve successfully taken your OMTech laser from the crate to a fully operational creative tool. The setup process is the most technical part of your entire laser journey. Now, the real fun can begin!

Leave a Reply