
When setting up a galvo fiber laser, choosing the right F-Theta field lens is one of the most critical decisions you will make.
While it is tempting to buy the largest lens available to maximize your workspace, optic physics dictates a strict trade-off: as field size increases, beam power density drops.
Installing a 300 mm lens on a 30W fiber laser will give you a massive working area, but it will also spread your laser beam’s energy so wide that deep metal engraving becomes almost impossible.
This guide breaks down how F-Theta optics work, compares the most common lens focal lengths, and helps you select the ideal field size for your specific engraving projects.
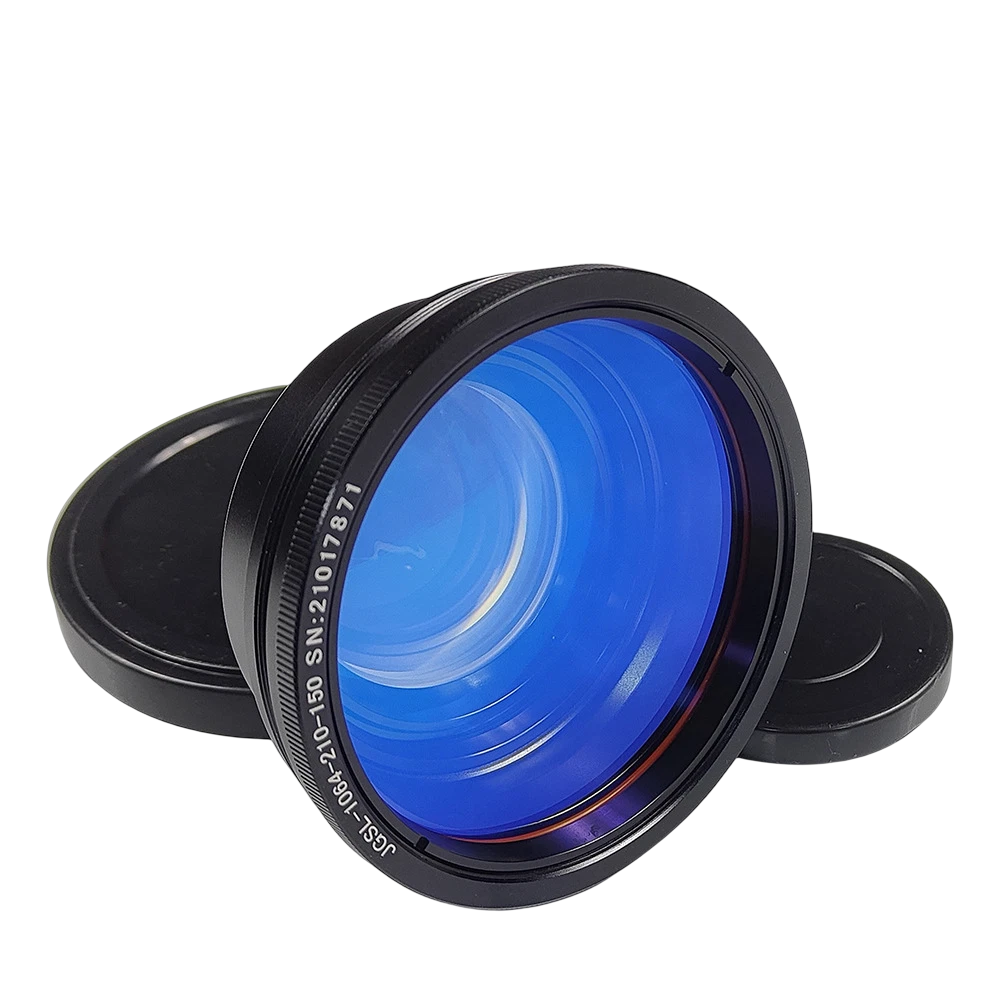
How F-Theta Optics Impact Fiber Laser Power
Unlike standard flat lenses that focus light onto a curved focal plane, an F-Theta scan lens uses flat-field optical correction to keep the laser beam in sharp focus across the entire flat bed.
When you change your F-Theta lens, three factors shift simultaneously:
- Field Size: The physical length and width of your maximum engraving area (e.g., 110 mm × 110 mm vs 300 mm × 300 mm).
- Focal Length & Working Height: The physical distance required between the bottom of the lens and the workpiece. Larger lenses sit significantly higher off the bed.
- Spot Size & Power Density: Larger lenses spread the laser energy across a wider microscopic spot. Doubling your field size quadruples the focal spot area, dramatically reducing energy concentration per square millimeter.
F-Theta Lens Comparison Chart
| Lens Field Size | Approx. Focal Length | Focal Spot Size | Power Density | Primary Use Case |
| 110 mm × 110 mm | ~160 mm | Smallest (~20–30 µm) | Maximum | Deep metal relief, coin minting, fine jewelry, micro-text, MOPA color. |
| 175 mm × 175 mm | ~254 mm | Medium (~35–50 µm) | Balanced | The “all-rounder.” Tumbler logos, knife blades, business cards, EDC gear. |
| 200 mm × 200 mm | ~290 mm | Large (~50–60 µm) | Moderate | Slate coasters, medium tray logos, light surface marking. |
| 300 mm × 300 mm | ~420 mm | Largest (~80–100+ µm) | Lowest | Batch marking small parts on a grid, thin foil processing, large panel etch. |
Breakdown by Lens Size: Which Should You Choose?
1. The 110 mm × 110 mm Lens: Maximum Detail & Deep Carving
The 110 mm lens (often using a 160 mm focal length) is the standard optic included with most fiber laser packages. Because it focuses the beam into an ultra-tight focal point (~20 microns), it provides the highest peak energy density possible for your laser source.
- Best For: Deep 3D coin carving, gun slide stippling, sterling silver jewelry cutting, MOPA stainless steel color marking, and micro-text.
- Drawback: Small working window. Large items like 30oz tumblers or multi-part trays will require file splitting or a rotary attachment.
2. The 175 mm × 175 mm Lens: The Daily Production Sweet Spot
If you can only keep two lenses in your shop, a 175 mm (or 150 mm) lens is the ultimate workhorse. It expands your workspace enough to cover larger graphics without suffering catastrophic power loss.
- Best For: Everyday shop marking, knife blades, custom EDC gear, larger tumbler graphics, and medium-sized serial tags.
- Drawback: Engraving speeds for deep 2.5D metal carves will take ~25% longer compared to a 110 mm lens.
3. The 300 mm × 300 mm Lens: High-Volume Batching
The 300 mm lens provides a massive 12-inch by 12-inch workspace, but it requires substantial laser wattage (preferably a 50W, 60W, or 100W power source) to operate effectively.
- Best For: Laying out 50+ keychains or aluminum tags on a grid jig for automated batch production; light coating removal on large panels.
- Drawback: The focal spot is broad (~100 microns), meaning fine lines appear thicker and deep carving capability drops off severely. Your z-axis column must also be tall enough to accommodate the ~420 mm working distance.
How to Switch Lenses in LightBurn
Switching lenses hardware-wise takes less than two minutes, but you must update your software configuration to avoid distorted or out-of-scale engravings.
- Unscrew the Old Lens: Carefully unthread the optical housing from the galvo head and thread in the new lens. Avoid touching the glass surface.
- Update Device Settings: Open LightBurn, go to Edit > Device Settings (
Alt + D), and update the Field Size dimensions to match your new lens (e.g.,175x175). - Calibrate Focal Distance: Re-adjust your physical z-axis height using your focal ruler or dual red-dot indicators. Larger lenses sit much further away from the workpiece.
- Import/Apply Correction Files: Load the specific
.corormarkcfg7scale correction table for that lens to ensure squares engrave square and dimensions remain accurate across the wider bed.
Final Recommendation & Savings
- For Maximum Depth & Colors: Stick with a 110 mm × 110 mm lens.
- For General Shop Tasks: Upgrade to a 175 mm × 175 mm lens.
- For Large Jigs & Trays: Use a 300 mm × 300 mm lens paired with a 50W+ machine.
If you are picking up add-on F-Theta lenses, rotary tools, or upgrading to a higher wattage galvo machine, be sure to visit our verified OMTech discount code page to apply 5% savings on your order.
Frequently Asked Questions
Can I run a 300 mm lens on a 20W fiber laser?
You can physically mount it, but performance will be poor. A 20W laser spread across a 300 mm field lacks the energy density to engrave metal deeply, limiting you to light surface discoloration or anodized aluminum coating removal.
Do larger lenses require a taller vertical column?
Yes. A 110 mm lens focuses roughly 160 mm below the lens, while a 300 mm lens focuses roughly 420 mm (~16.5 inches) below the lens. Ensure your machine column has enough vertical travel before purchasing a large field lens.
Why are my circles oval after changing lenses?
Each F-Theta lens bends light differently across its field edges. When switching lenses, you must import the factory calibration file (.cor or markcfg7) supplied with that specific lens or adjust the scale factor in LightBurn Device Settings.

Leave a Reply