
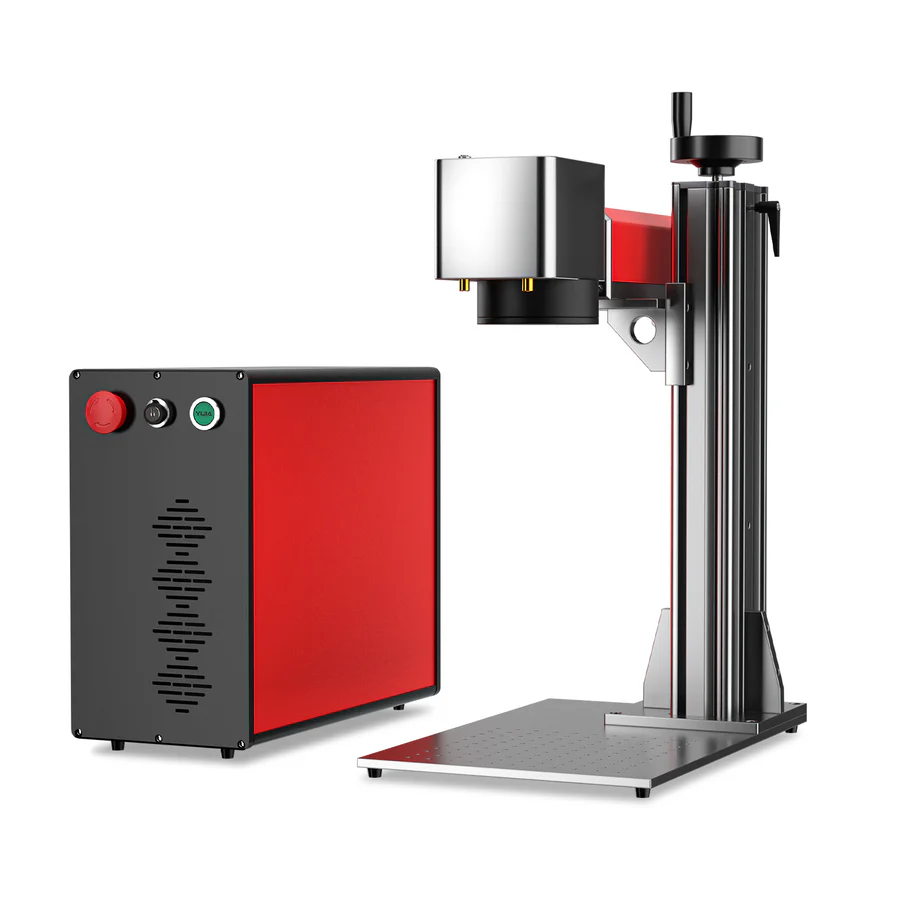
If you just unboxed an OMTech, Cloudray, or Monport galvo fiber laser, it almost certainly came with a USB flash drive containing EZCAD2. While EZCAD gets the job done, its outdated interface and clunky vector tools leave a lot to be desired compared to LightBurn.
Upgrading to LightBurn’s Galvo license gives you modern graphic tools, advanced hatching, and seamless layer management. However, getting LightBurn to talk to a fiber laser requires two specific setup hurdles: swapping out the default Windows BJJCZ driver using Zadig and importing your factory markcfg7 lens correction files.
This guide walks you through the exact setup process step-by-step so you can start engraving in under 15 minutes.
Prerequisites: What You Need Before Starting
- LightBurn Galvo License: Ensure your LightBurn installation includes the Galvo license add-on. The core CO2/Diode license will not recognize fiber galvo controllers.
- Factory USB Flash Drive: Connect the thumb drive that arrived with your laser. You need the original configuration files located inside the
PlugInorEZCADdirectory. - USB Connection: Plug your fiber laser directly into your PC via USB and power the machine on.
Quick Note on Drivers: If you checked “Install Galvo Drivers” when installing LightBurn, your laser will likely connect automatically! You can skip straight to Step 2 (Importing markcfg7). Only use the Zadig utility below if LightBurn fails to discover your machine.
1.Swap the Fiber Controller Driver Using Zadig:Crucial Step – LightBurn cannot detect EZCAD drivers natively.
By default, Windows uses a proprietary BJJCZ driver for EZCAD2. LightBurn requires a open-source libusbK driver to communicate with the fiber control board.
- Download and launch Zadig (a free, trusted Windows driver utility).
- Power on your fiber laser and connect it to your PC via USB.
- In Zadig, click the Options menu at the top and select List All Devices.
- Click the device drop-down menu and look for USBLMCV2 or BJJCZ Device.
- In the target driver box (to the right of the green arrow), select libusbK.
- Click the large Replace Driver (or Install Driver) button and wait for the success confirmation.
Note: Replacing this driver will prevent EZCAD2 from connecting. If you ever need to use EZCAD2 again, you will need to swap the driver back to BJJCZ via Device Manager.
2.Add the Galvo Device in LightBurn:
Now that the driver is updated, LightBurn can automatically discover your galvo controller board.
- Launch LightBurn and open the Devices window on the bottom-right panel.
- Click Find My Laser.
- LightBurn will scan your USB ports and display a JCZ Fiber / Galvo device.
- Click Add Device, set your preferred laser name (e.g., OMTech 50W Fiber), and click Next.
- Set your origin (typically the Rear-Right or Center for galvo systems) and click Finish.
3.Import Your Factory markcfg7 Lens Correction File:Required for accurate sizing and field distortion prevention.
Galvo mirrors pass light through an F-Theta field lens. Because lenses slightly bend light at the outer edges, your machine relies on a factory calibration file (markcfg7 or cor_1.cor) generated specifically for your lens during manufacturing.
- Open LightBurn and navigate to Edit > Device Settings (or press
Alt + D). - Click the Import EZCAD Config button near the bottom of the window.
- Browse to your factory USB drive, open the EZCAD folder, and locate the file named
markcfg7(or your specific configuration file inside thePlugInfolder). - Click Open. LightBurn will automatically extract your field size, galvo delays, scale factors, and lens distortion corrections.
4.Verify Lens Field Dimensions and Galvanometer Settings:
After importing, double-check your core parameters under the Galvo tab in Device Settings:
- Field Size: Ensure the X and Y dimensions match your physical F-Theta lens (e.g.,
110mm x 110mm,175mm x 175mm, or200mm x 200mm). - Laser Frequency & Pulse Limits: Confirm the minimum/maximum frequency ranges match your source type (e.g., 20–80 kHz for Raycus Q-switched; 1–4,000 kHz for JPT MOPA).
- Click OK to save the settings.
5.Run a Red-Light Framing Test and Square Calibration:
Before firing the main laser, verify that the red alignment boundary matches your actual work bed.
- Place a piece of anodized aluminum or scrap metal on the bed and adjust your focal height until the red focus dots converge.
- Draw a simple 50mm x 50mm square in LightBurn.
- Click the Frame button in the Laser window to activate the galvo red-light pointer.
- Verify that the red box projected onto your bed measures accurately with a ruler.
- Run a low-power test cut to verify that your engraved square measures exactly 50mm on both the X and Y axes.
Troubleshooting Common Setup Issues
“No Devices Found” when searching in LightBurn
If LightBurn cannot find your fiber laser, the libusbK driver installation likely failed or bound to the wrong USB hub:
- Open Windows Device Manager.
- Scroll down to libusbK USB Devices.
- Verify that USBLMCV2 is listed cleanly with no yellow exclamation marks.
- If it appears under “Other Devices,” re-run Zadig and ensure List All Devices is checked.
Engravings are Distorted, Skewed, or Stretched
If circles render as ovals or squares engrave as parallelograms, LightBurn is missing your factory lens correction table:
- Re-open Device Settings (
Alt + D). - Click Import EZCAD Config again and select the file directly from your original flash drive.
- If your flash drive contains a
.corfile (e.g.,cor_1.cor), click Field Correction in Device Settings and load the.corfile manually for your lens.
Red-Light Pointer Is Off-Center
The red preview laser runs through a secondary diode mirror before hitting the galvo head. If the red box does not line up with where the actual fiber beam fires, adjust the Red Light Offset values under Device Settings > Galvo Tab until the red preview matches the burn mark perfectly.
Next Steps for Fiber Engravers
With LightBurn Galvo fully configured and calibrated, your machine is ready to process job files, run matrix speed tests, and handle high-speed production.
If you are expanding your shop or picking up additional F-Theta lenses, check out our verified OMTech discount code page to save on fiber machines, rotary attachments, and official accessories.
Frequently Asked Questions
Does LightBurn Galvo work with all fiber laser brands?
LightBurn Galvo works with virtually all galvo fiber lasers utilizing standard JCZ (BJJCZ) controller boards, including units from OMTech, Cloudray, Monport, EM-Smart, and Haotian.
Can I run EZCAD2 and LightBurn on the same computer?
Yes, but not at the exact same time without swapping drivers. LightBurn requires the libusbK driver, while EZCAD2 requires the original BJJCZ driver. To switch back to EZCAD2, you must replace the driver in Device Manager.
Where do I find my markcfg7 file if I lost my USB drive?
If you lost the original thumb drive, contact your machine manufacturer with your serial number and lens size to request a backup configuration file. Alternatively, you can calibrate lens scale and distortion manually using LightBurn’s built-in Galvo Lens Calibration wizard.

Leave a Reply